Turkey legs are the part of the bird most people give up on. They go in the oven at the same time as the breast, and by the time the breast is safe to eat the legs are still chewy. Cook the legs properly and the breast is dry. It is the oldest problem with roasting a whole turkey, and there is no fixing it while both cuts are attached to each other.
Taking the bird apart fixes it. Once the legs are off, they can go into a water bath at a temperature that suits dark meat, which is much higher than the one that suits the breast. Three hours at 165°F / 74°C breaks down the connective tissue that makes dark meat tough, and because the water never goes above that number, the meat cannot dry out while it happens.
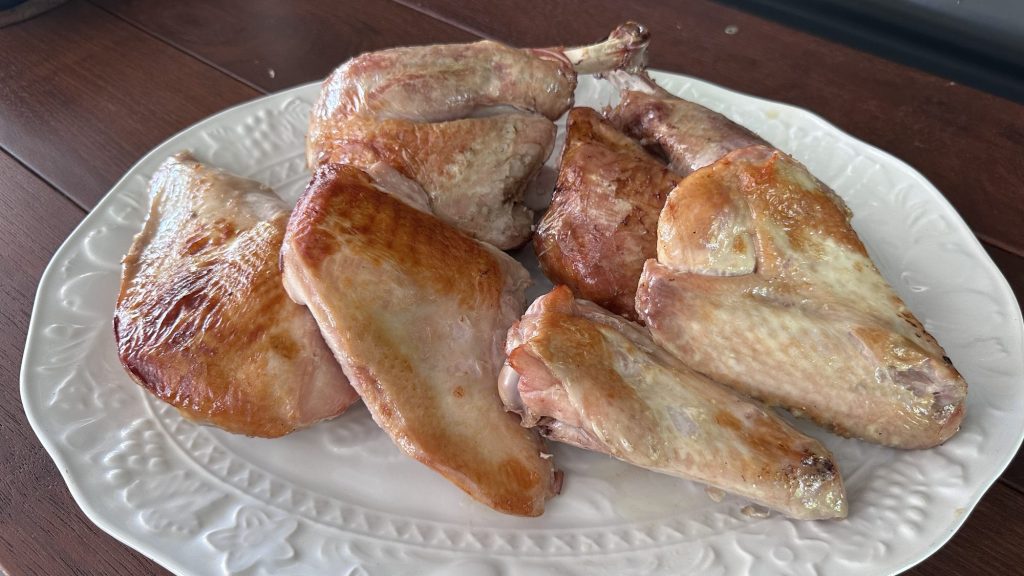
I cooked a 8.4 lb (3.8 kg) bird this way at the end of August. The breasts and wings went into the bath first at 140°F / 60°C. When they came out I turned the circulator up to 165°F / 74°C and the two legs went in for three hours.
The legs were the best thing on the table. The meat was melt-in-your-mouth tender and full of flavor. Dark meat is my favorite part of the turkey, and if I were feeding a group of friends who all love it, I would skip the whole bird and buy turkey legs.
Why dark meat needs a different temperature
Turkey breast is lean and has very little connective tissue, so it wants a low temperature and it is done as soon as it is heated through. We cook turkey breast at 140°F / 60°C.
Thighs and drumsticks are the opposite. They are worked muscles full of collagen, and collagen only starts turning into gelatin at around 160°F / 71°C. Cook a turkey thigh to 140°F and it will be safe to eat and unpleasant to chew. Cook it to 165°F and hold it there for a few hours and the collagen melts, which gives dark meat its soft texture. It is the same reason we cook chicken thighs at 165°F / 74°C.
In an oven you get to that temperature and go past it, and the meat squeezes out its moisture on the way. In a water bath you arrive at it and stop.
Time and temperature
| Temperature | Result |
|---|---|
| 160°F / 71°C | Firmer, closer to a roast texture |
| 165°F / 74°C | Our recommendation, and what we cooked. Tender, still holds together on the bone |
| 176°F / 80°C | Falls apart. Use this if you are shredding the meat for sandwiches or tacos |
| Cut | Time at 165°F / 74°C |
|---|---|
| Whole leg, thigh and drumstick joined, bone in | 3 hours (what we cooked) |
| Thigh or drumstick on its own, bone in | 2 to 4 hours, with 3 as the pick |
| Shredding, any cut | 6 to 8 hours at 176°F / 80°C |
These sit inside the dark meat range in our sous vide time and temperature guide, which puts thighs and drumsticks at 2 to 4 hours with 3 hours as the pick.
Why whole legs
You can split the leg into a thigh and a drumstick, or debone the thigh and roll it. I left them whole. It is less knife work, one leg fits neatly in one bag, and the bone and the connective tissue around it give up flavor into the bag over three hours. Whole legs are also what you will have if you buy turkey legs rather than breaking down a bird yourself. A whole turkey leg is the same cut as a chicken quarter, only bigger.

If your bath is small or your bags are short, cut through the knee joint and cook the thigh and drumstick separately. The time stays the same.
What you need
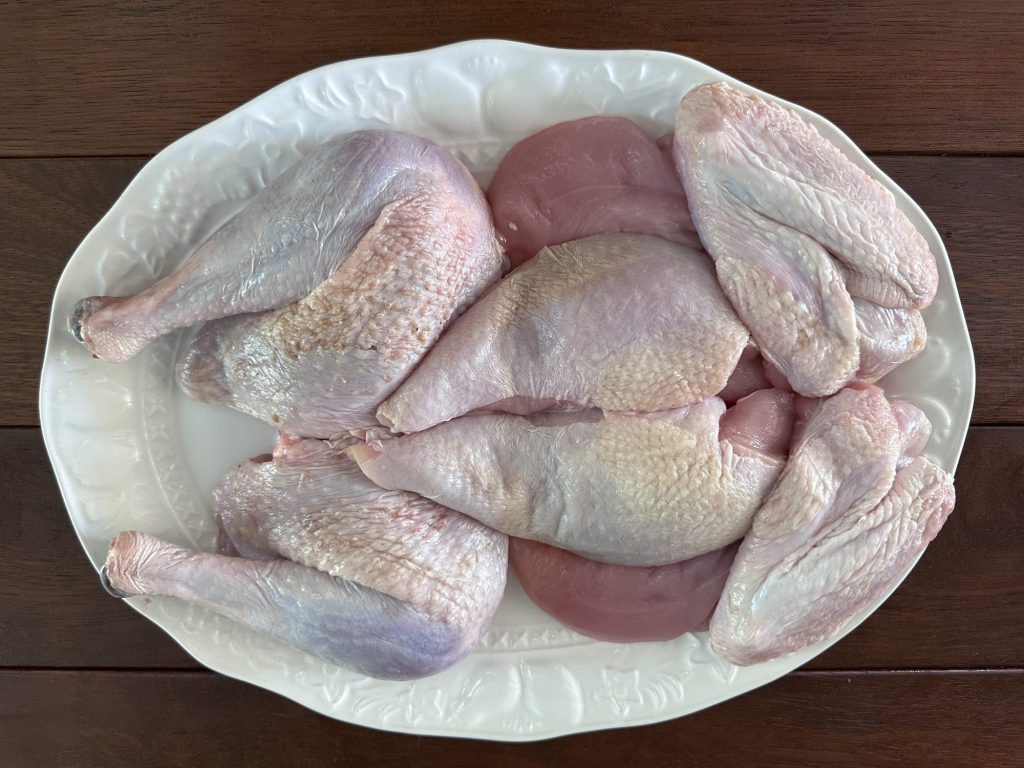
- 2 turkey legs, from a whole bird you have broken down or bought separately. The two legs from a 8 to 9 lb (3.5 to 4 kg) bird feed four as part of a meal with the breast, or two on their own
- Kosher salt, about 1 tablespoon per 4 lb (2 kg) of bird for the dry brine
- Optional: butter to go under the skin, and any herbs or spices you like. Ours had salt only
- Olive oil in a spray bottle, or melted butter, for finishing
- Vacuum sealer bags, or heavy zip bags
Dry brine the night before
Salt the legs the day before and leave them uncovered on a rack in the fridge. Rub the salt under the skin as well as on top. Overnight, the salt works its way into the meat and the skin dries out, and dry skin is the only skin that crisps.
If you are short on time, four hours does most of the work. Skipping it entirely is fine but the skin will fight you at the finishing stage.
Bagging
One leg per bag. Add butter under the skin or herbs now if you are using them (ours went in with just the dry brine), seal, and write the temperature and time on the bag with a marker. When you have several bags going in and out at different times, you will not remember which is which.
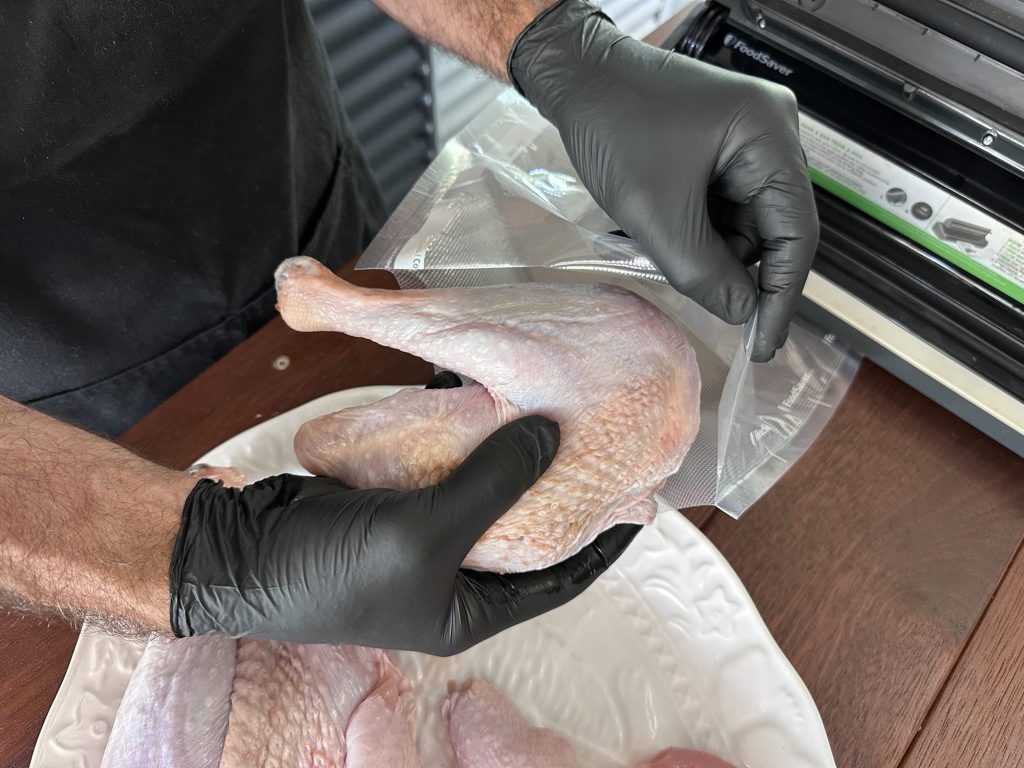
The drumstick has a sharp bone end that can puncture a bag, so double bag it or fold a piece of paper towel over the end before sealing.
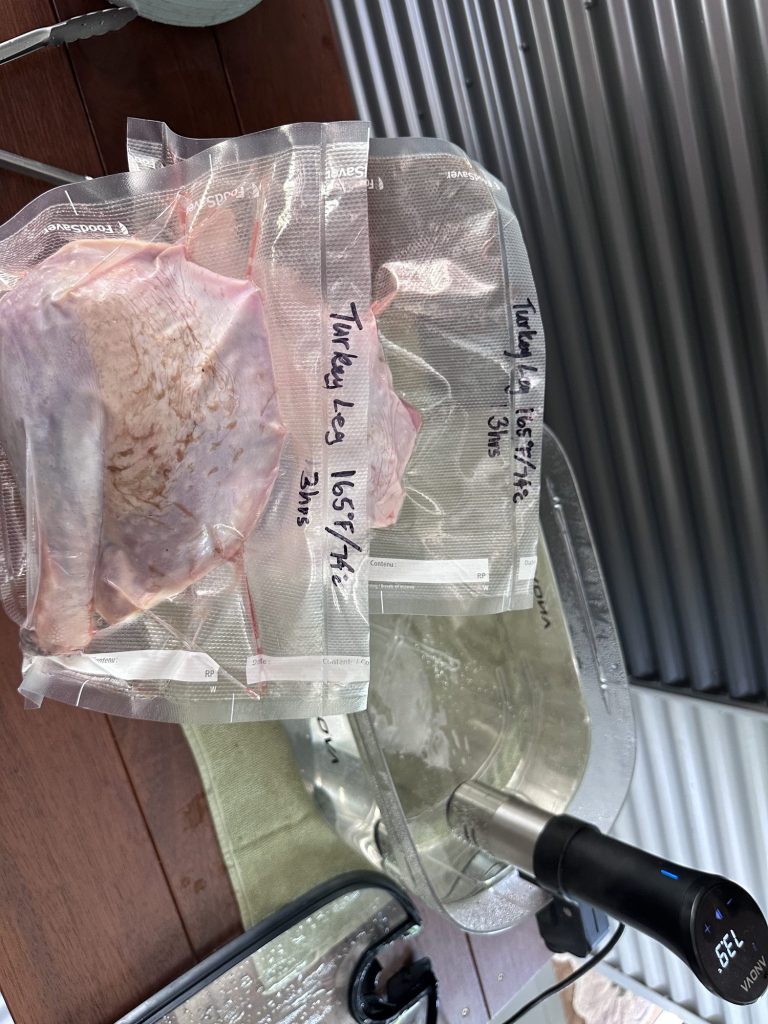
One circulator: white meat first, then turn it up
If you are cooking the breast as well and only have one circulator, cook the breast first and the legs second. Water heats up much faster than it cools down. Going from 140°F / 60°C up to 165°F / 74°C took about 20 minutes, with the lid on. Going the other way means tipping out hot water and adding ice.
So the order on the day was: breasts and wings in at 140°F / 60°C, out and into an ice bath, circulator up to 165°F / 74°C, legs in for three hours.
Cooking
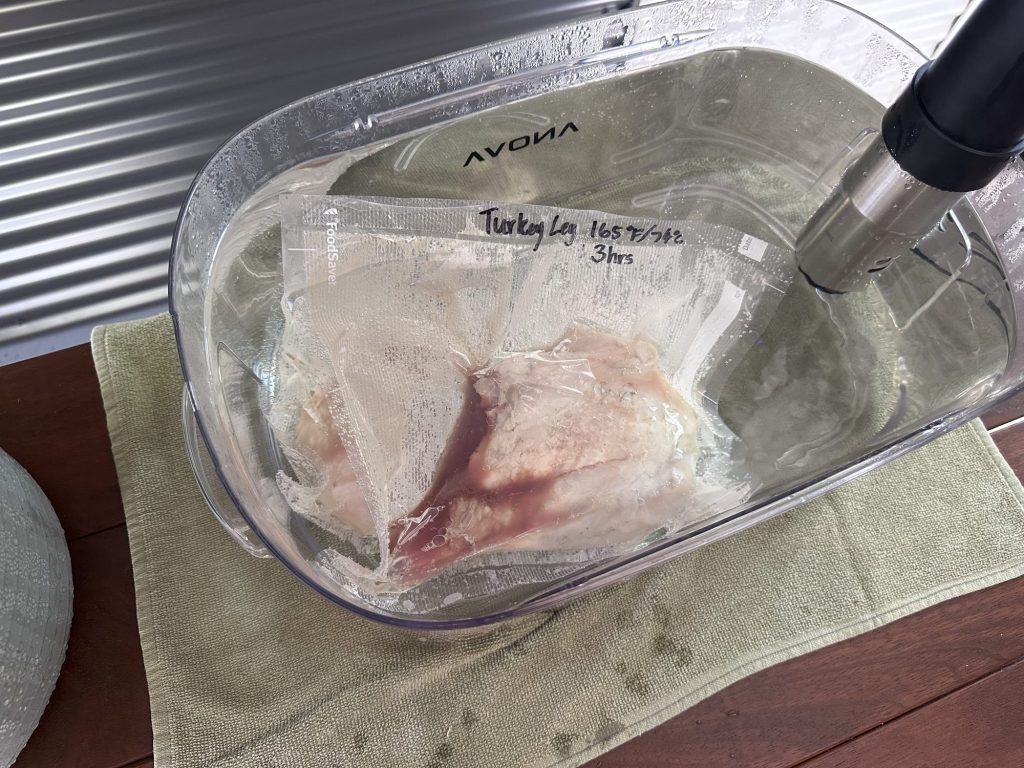
- Set your circulator to 165°F / 74°C and let the water come up to temperature.
- Lower the bags in and make sure they are fully under the water. Bags with bone in them like to float, so clip them to the side or weigh them down with a spoon.
- Cook for 3 hours. An extra 30 minutes will not hurt anything.
- Take the bags out. If you are eating straight away, go to the finishing step. If you are cooking ahead, see below.
Cooking ahead
This is the best reason to cook turkey this way. Drop the bags straight from the bath into ice water for 20 minutes, then refrigerate for up to 48 hours. We cooked the legs in the afternoon, chilled them, and finished them in the oven the next morning.
To chill a leg right through, measure it at the thickest part of the thigh. Douglas Baldwin’s cooling table in A Practical Guide to Sous Vide Cooking gives about 1 hour in ice water that is at least half ice for 1½ inches (40 mm), 1½ hours for 2 inches (50 mm) and 2¼ hours for 2½ inches (65 mm). Twenty minutes cools the outside, so leave thicker legs in longer before they go into the fridge.
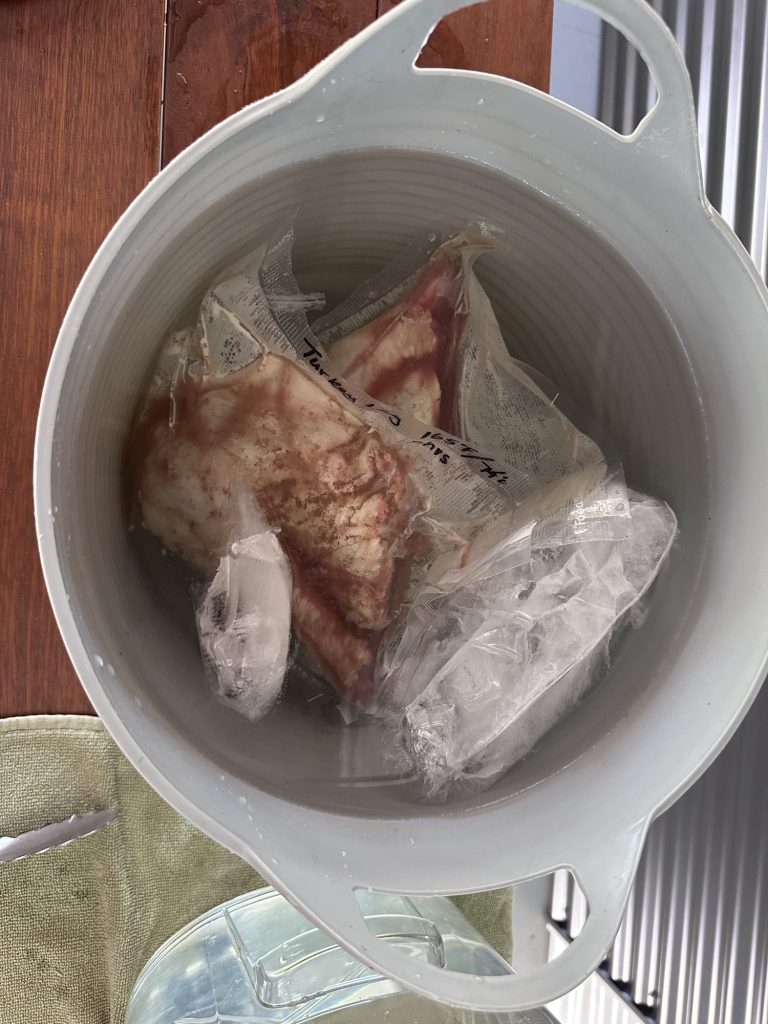
To serve from the fridge, do what I did: put the bags back in the water bath to bring the legs up to temperature, then into a hot oven only long enough to crisp the skin. 45 minutes at 140°F / 60°C heats them through.
For thicker legs straight from the fridge, Baldwin’s heating table gives about 1¼ hours for 1½ inches (40 mm), 2 hours for 2 inches (50 mm) and 3 hours for 2½ inches (65 mm) to heat right through to the bath temperature.
Finishing
Sous vide gets the inside right and does nothing for the outside. The legs come out of the bag pale and soft skinned, and they need high heat to fix that.
- Heat the oven to 400°F / 200°C.
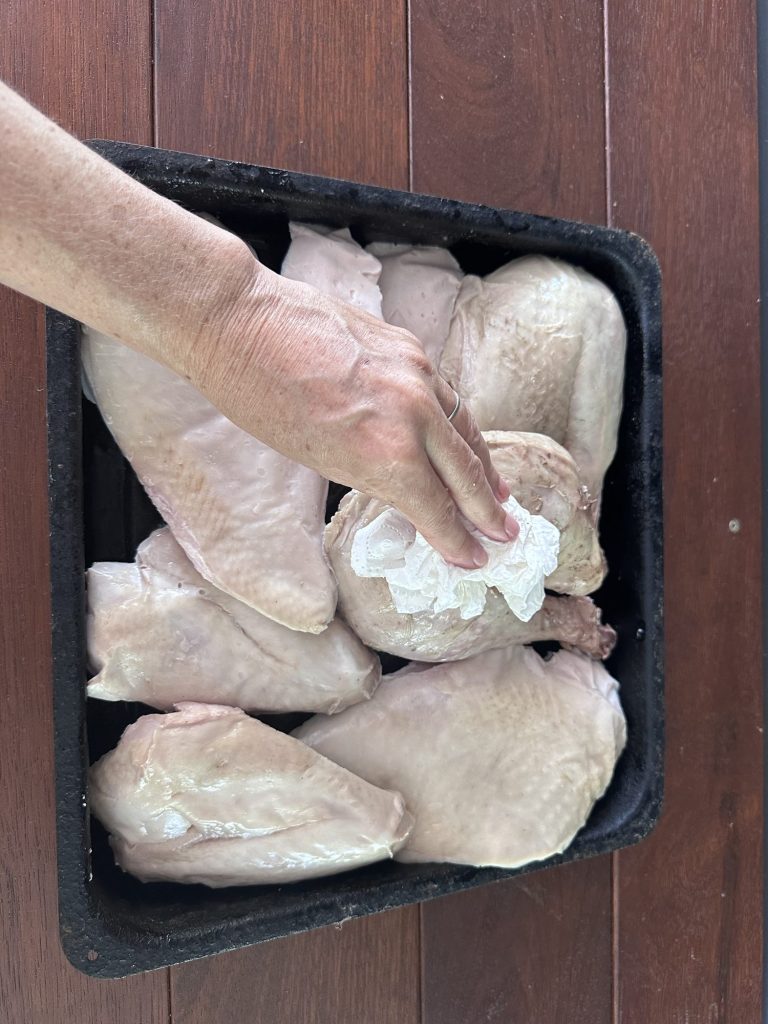
- Take the legs out of the bags and keep the juices. Pat the skin completely dry with paper towel, then pat it again. Any moisture left on the skin turns to steam in the oven, and steam stops skin browning.
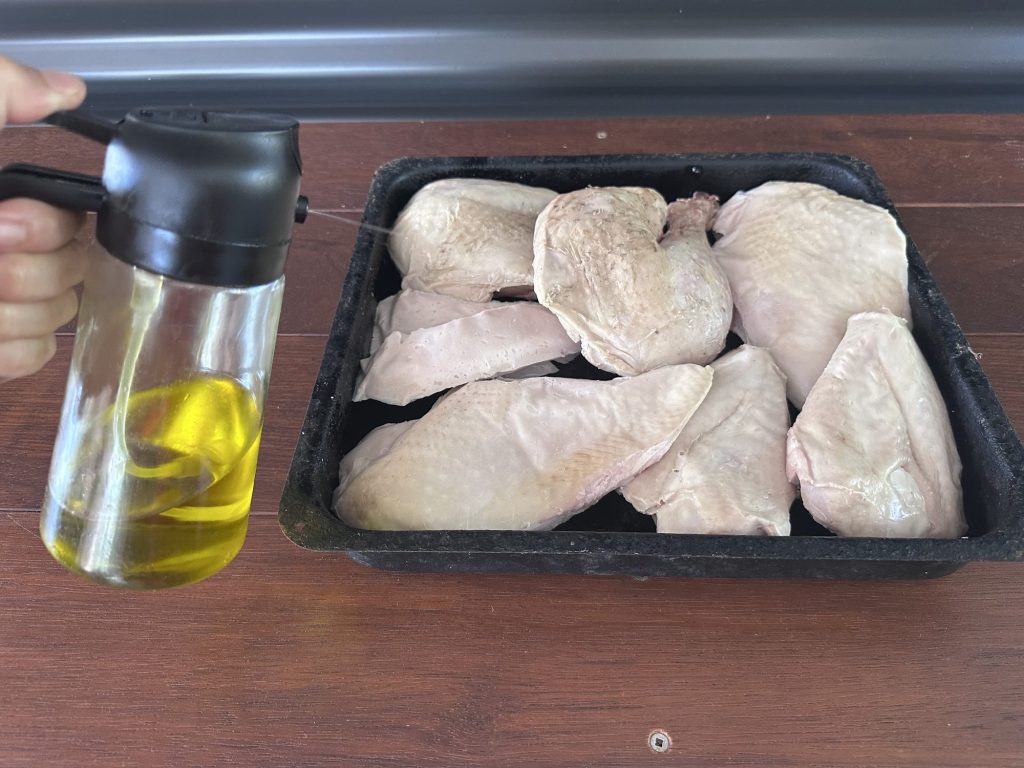
- Spray or brush the skin with oil.
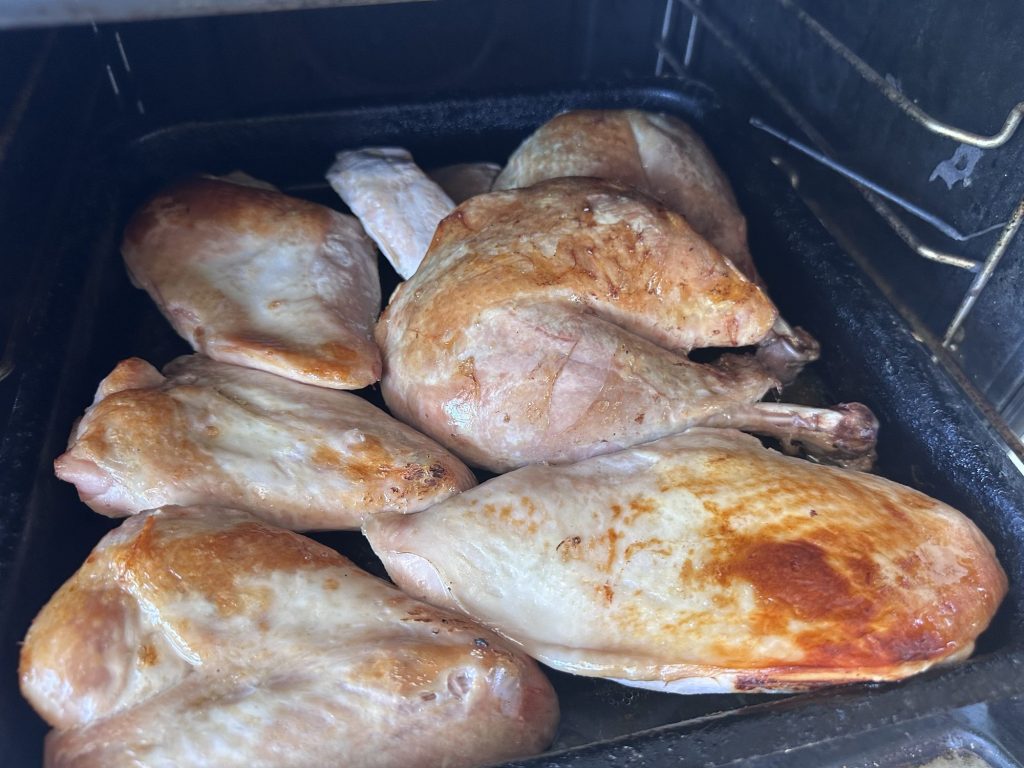
- Roast only until the skin is browned and crisp. The meat is already cooked and hot, so this takes a few minutes. Watch the skin rather than the clock.
- Rest for 10 minutes before carving.
Serving
Carve the thigh meat off the bone in thick slices and leave the drumstick whole, or serve the legs whole and let people help themselves. If you have cooked the breast as well, put the dark and the white meat on one platter so people can choose.

Gravy from the carcass and pan juices
Once the legs and breasts are off, the carcass makes the stock for the gravy. Roast the bones in a hot oven with onion, carrot and celery until everything is well browned. Tip it all into a stockpot with bay leaves and black peppercorns, cover with cold water and keep it at a gentle simmer, skimming off the scum as it rises.
Roasting the bones first is what makes a brown gravy. When I was at culinary school, our chef taught us the difference: roast the bones and vegetables before they go in the pot and you get a darker stock and a deep brown gravy. Put the bones in the pot raw, straight into cold water, and you get a pale stock for a white gravy. I roasted mine.
For the gravy, whisk flour into a little of the roasting tray juices or the juices from the turkey in a saucepan, then whisk in the hot stock a ladle at a time until it is as thick as you want.

Sous Vide Turkey Legs
Ingredients
- 2 whole turkey legs thigh and drumstick joined
- 1 tablespoon kosher salt
- butter optional, for under the skin
- herbs or spices of your choice optional
- olive oil for finishing
Instructions
The day before, pat the legs dry and rub the salt over and under the skin. Refrigerate uncovered on a rack overnight.
Add butter under the skin and herbs or spices if you are using them. Seal each leg in its own bag, padding the drumstick bone end.
Cook at 165°F / 74°C for 3 hours.
To cook ahead, chill the bags in ice water for 20 minutes and refrigerate for up to 48 hours. On the day, bring the bags back up in a 140°F / 60°C bath for 45 minutes.
Heat the oven to 400°F / 200°C. Take the legs out of the bags, keeping the juices, and pat completely dry.
Spray or brush with oil and roast only until the skin is browned and crisp, a few minutes.
Rest 10 minutes, then carve the thigh off the bone and serve the drumsticks whole.
Recipe Notes
Dry brine the legs overnight for the crispest skin. The legs can be cooked, chilled in ice water and refrigerated for up to 48 hours before finishing.
Questions people ask
Do I need to split the leg into thigh and drumstick?
No. A whole leg cooks in the same 3 hours and fits in one bag. Split it only if your bags or your container are too small for a whole leg.
Can I cook the legs and the breast in the same bath?
Not at the same time and at their best temperatures. The breast wants 140°F / 60°C and the legs want 165°F / 74°C. With one circulator, cook the breast first, chill it, then turn the bath up for the legs. The alternative is our Foolproof Sous Vide Turkey method, which spatchcocks the whole bird and cooks it at 150°F / 65.5°C for 6 hours.
Can I cook turkey legs from frozen?
Yes. Add an hour to the cook time.
How far ahead can I do this?
Two days. Cook, chill in ice water for 20 minutes, refrigerate, and finish in the oven on the day. It takes the turkey off the stove on the busiest day of the year.
Is 165°F safe?
Yes. 165°F / 74°C is the instant pasteurization temperature for poultry, so three hours at that temperature is well past what is needed.
What about the wings?
We cooked ours with the breasts at 140°F / 60°C for 1.5 hours and finished them in the oven alongside everything else. They came out amazing. Cooking the wings with the breast rather than with the legs gives them a better texture and flavor, and it is how I always do them.
Can I serve the breast cold?
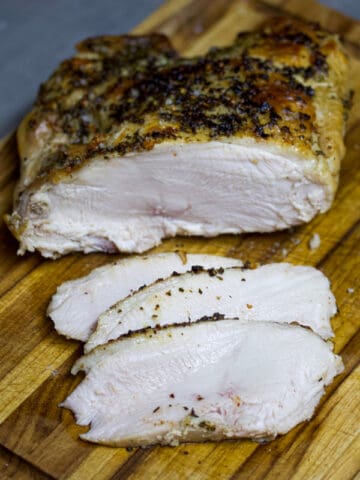
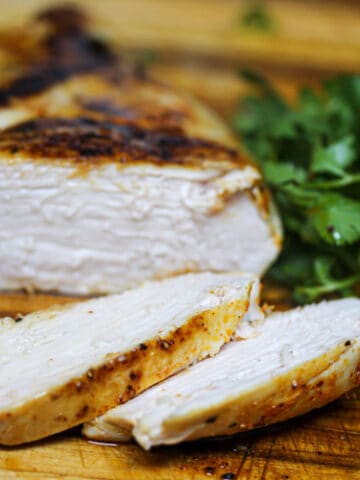
Yes, and it makes amazing cold meat. The same goes for sous vide chicken breast. If you are using it as a cold cut, skip the oven. Chill the bag in ice water straight from the bath, refrigerate it, then slice it thin. It works for a cold turkey platter at Thanksgiving, and just as well for meal prep, lunches and salads through the week. Our sous vide turkey breast recipe and sous vide chicken breast recipe have the times.
Can I shred the meat instead?
Cook at 176°F / 80°C for 6 to 8 hours and it will pull apart with a fork. Good for leftovers, sandwiches and tacos, and it freezes well in its own juices. Our shredded chicken breast works the same way.